
Embroidery looks simple from the outside. But behind every clean stitch is a well-made file. If your file is not right, your design will not stitch well. You may see gaps, broken lines, or messy shapes. This is why file prep is very important.
If you want smooth results on Janome machines, you need clean and clear files. Many people try to fix issues after stitching. But the real fix starts before that. It starts with how you create your file.
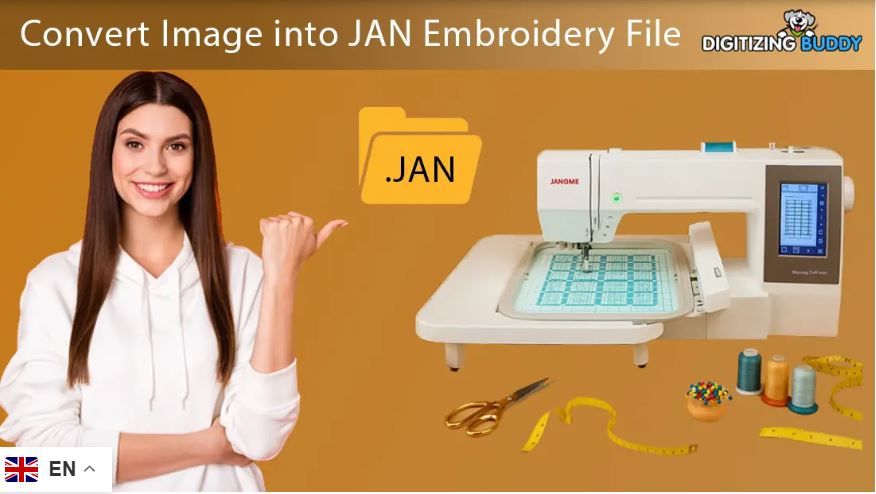
In this guide, I will share simple steps from real work experience. You will learn how to prepare files the right way. You will also learn how to avoid common mistakes. Many users try to Convert image to JAN Embroidery File without knowing the right process. This leads to poor results. Let’s fix that step by step.
Why Clean Files Matter in Embroidery
A clean file gives you clean stitching. It is that simple.
When your file is messy:
- Threads break
- Shapes look uneven
- Small text becomes unreadable
- Fabric gets damaged
But when your file is clean:
- Stitches run smoothly
- Shapes look sharp
- Machine runs faster
- Final design looks professional
From my own work, I have seen that even a good design can fail with a bad file. That is why file quality is the base of good embroidery.
Understanding Janome Embroidery Files
What is a JAN File?
A JAN file is used in Janome embroidery machines. It tells the machine:
- Where to stitch
- How to stitch
- Which path to follow
It is not like an image file. It is a stitch file. That means it has instructions, not just visuals.
Why You Cannot Use Images Directly
You cannot just upload a JPG or PNG and start stitching. The machine does not understand images. It only understands stitches.
So, you must convert your design into stitch data. This process is called digitizing.
Step-by-Step Process to Create Clean Files
Step 1: Start with a Good Design
Always begin with a clear design.
- Use high-quality images
- Avoid blurry or pixelated files
- Keep shapes simple
Simple designs work best for embroidery. Too many details can cause issues.
Step 2: Clean the Artwork
Before digitizing, clean your design.
- Remove extra lines
- Fix rough edges
- Simplify small details
This step saves a lot of time later. A clean design leads to a clean stitch file.
Step 3: Choose the Right Size
Size matters a lot in embroidery.
If your design is too small:
- Details will not show
If too large:
- It may not fit the hoop
Always set the size before digitizing. Do not scale later. Scaling can break stitch quality.
Step 4: Select the Right Stitch Type
Different parts of a design need different stitches.
Running Stitch
- Used for thin lines
- Good for outlines
Satin Stitch
- Used for text and borders
- Gives a smooth look
Fill Stitch
- Used for large areas
- Covers space evenly
Using the wrong stitch type can ruin the design. So choose carefully.
Step 5: Set Proper Stitch Direction
Stitch direction affects the final look.
- Wrong direction = uneven shine
- Right direction = smooth finish
Change angles for different parts. This gives depth and a clean look.
Step 6: Adjust Density
Density means how close the stitches are.
- Too dense = thread breaks
- Too loose = gaps in design
Always balance density based on fabric.
From my experience, testing density is very important. Even small changes can improve results.
Step 7: Add Underlay Stitches
Underlay is the base layer of stitches.
It helps:
- Stabilize fabric
- Improve top stitches
- Reduce gaps
Skipping underlay often leads to poor results.
Step 8: Set Thread Path Properly
The machine follows a path.
If the path is not planned:
- It creates jumps
- Thread cuts increase
Always set a smooth path. This saves time and gives clean output.
Step 9: Test Your File
Never skip testing.
Run a sample on fabric:
- Check alignment
- Check stitch quality
- Check thread breaks
Testing helps you catch errors early.
Common Mistakes to Avoid
Using Low-Quality Images
Bad input gives bad output. Always use clear designs.
Ignoring Fabric Type
Different fabrics need different settings.
- Cotton → medium density
- Stretch fabric → less density
- Thick fabric → stronger underlay
Too Much Detail
Embroidery is not printing. Fine details do not always work.
Keep it simple.
Skipping Test Stitch
This is one of the biggest mistakes.
Even experts test their files.
Tips from Real Experience
I have worked on many designs. Here are some simple tips that always help:
- Start simple, then improve
- Use fewer colors when possible
- Avoid very small text
- Always preview your stitch file
- Keep backup of original design
These small steps make a big difference.
Tools You Can Use
There are many digitizing tools available. Choose one that fits your skill level.
Basic tools:
- Easy to learn
- Good for beginners
Advanced tools:
- More control
- Better for complex designs
No matter the tool, the process remains the same.
How Professionals Do It Better
Professional digitizers focus on details.
They:
- Plan stitch paths carefully
- Adjust density for each fabric
- Use correct stitch types
- Test every design
This is why professional work looks clean and smooth.
At Digitizing Buddy, the focus is always on quality and accuracy. Each file is tested and refined before delivery. This ensures smooth machine performance.
Why Experience Matters
Embroidery digitizing is not just software work. It is skill.
With experience, you learn:
- What works
- What fails
- How to fix issues fast
Beginners often rely on auto tools. But manual control gives better results.
When to Get Expert Help
If you face these issues:
- Thread breaking often
- Uneven stitching
- Poor design shape
Then it is better to get help.
A professional service like Digitizing Buddy can save your time. It also ensures better output for your business.
Final Thoughts
Creating clean and accurate files for Janome embroidery is not hard. But it needs care and the right steps.
Always remember:
- Start with a clean design
- Use proper stitch settings
- Test before final use
Small steps lead to big results.
From my own experience, the biggest difference comes from patience and testing. Do not rush the process. Take time to refine your file.
When done right, your embroidery will look smooth, sharp, and professional every time.